A perfect way to measure the success of your Facebook advertising campaigns is to add your Facebook Tracking Pixel to your landing page.
How to add Meta(Facebook) Tracking Pixel to your page
1. Click on the name of the landing page, then on Integrations, then on Marketing Tags & Pixels, and lastly on Meta Pixel (formerly Facebook Pixel).
2. Paste your Meta(Facebook) Pixel ID in the designated field.
3. Hit Save and then go back to the main slideout view to update the page. Clicking Update Experience is mandatory for the changes to go live on the page's URL.
Meta(Facebook) pixel tracks page views by default, so a really easy way to track other conversions(like form submissions) is to add the pixel to a Thank-you page and redirect your visitors to it after form submission, as shown here: https://d.pr/CrQdSg.
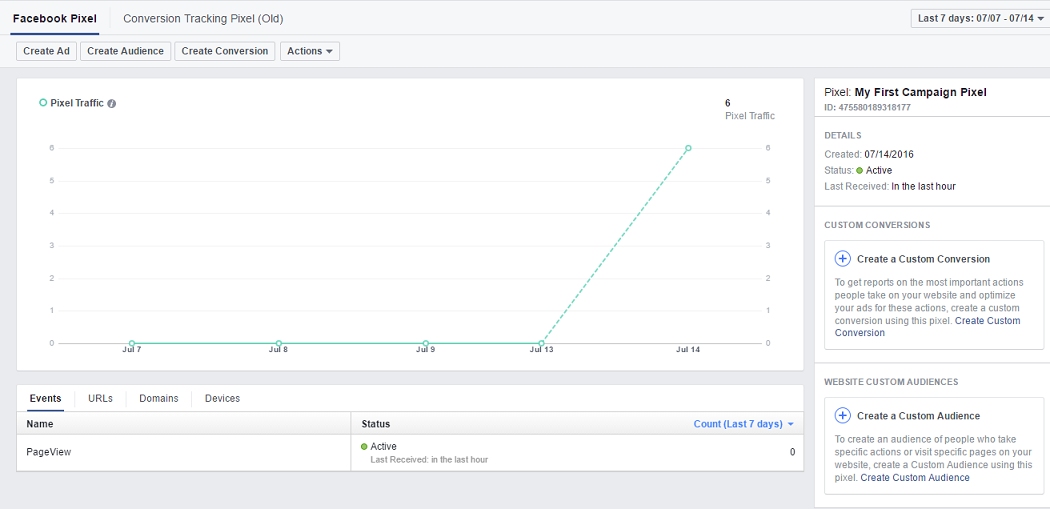
That's it; now you can track your results with your pixel:
Adding the integration to all the pages in the workspace at once
Our native integration must be added to each page individually, but if your account is on the Convert plan, then you can use the Workspace Scripts feature to add any tracking scripts to all the pages in the workspace at once. You will need to install the Meta(Facebook) Pixel as code instead of using our integration.
To learn more about the way our Workspace Scripts feature works, check out our article here: https://d.pr/1VdOX3.